*Lyrics from a new single from my favorite (and yours, right? right?) Local Natives called Breakers. Needless to say, I’m in love. And now await their upcoming album (called Hummingbird) release in January with bated breath. Ok, not fully bated, just, well, I can’t wait. But I will.
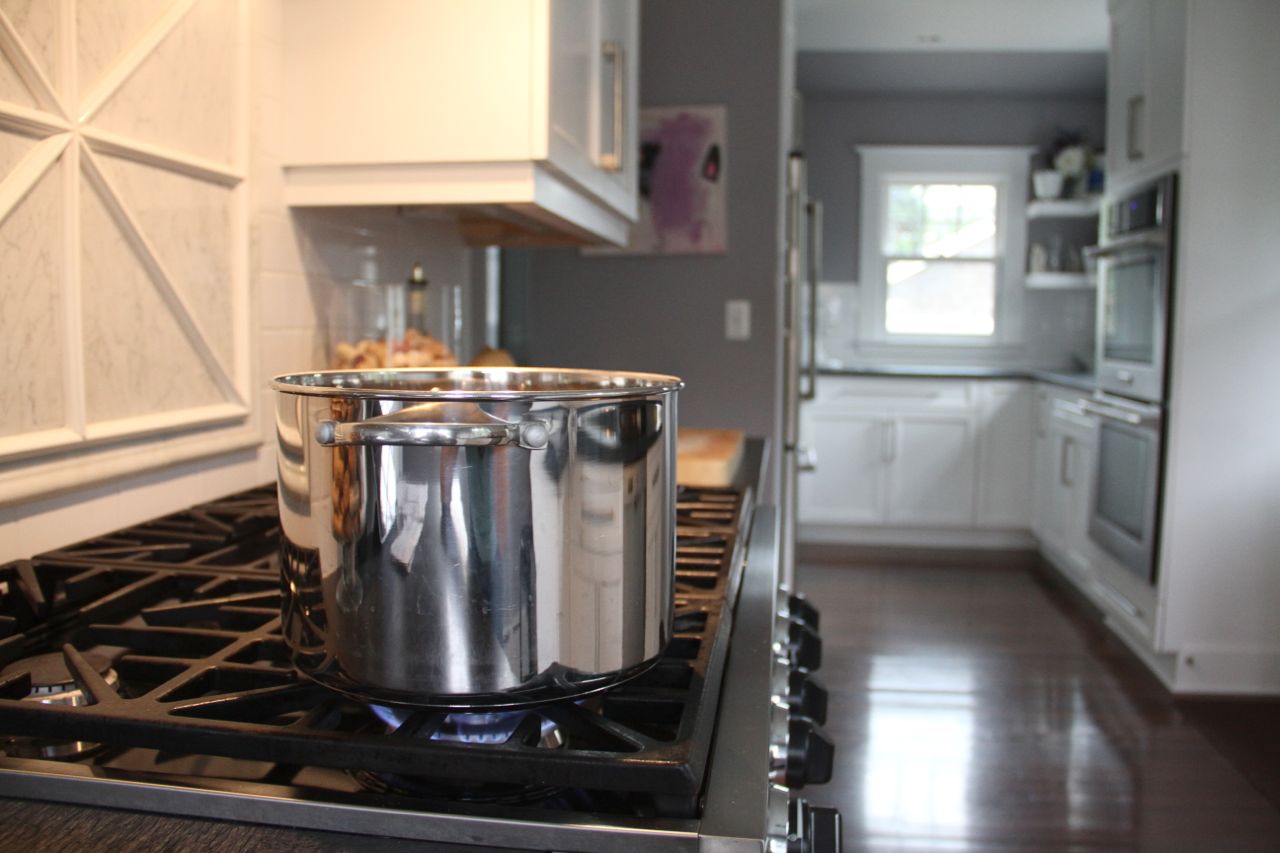
And now it’s time for our next installment of Kitchen Monthly… better late than never?
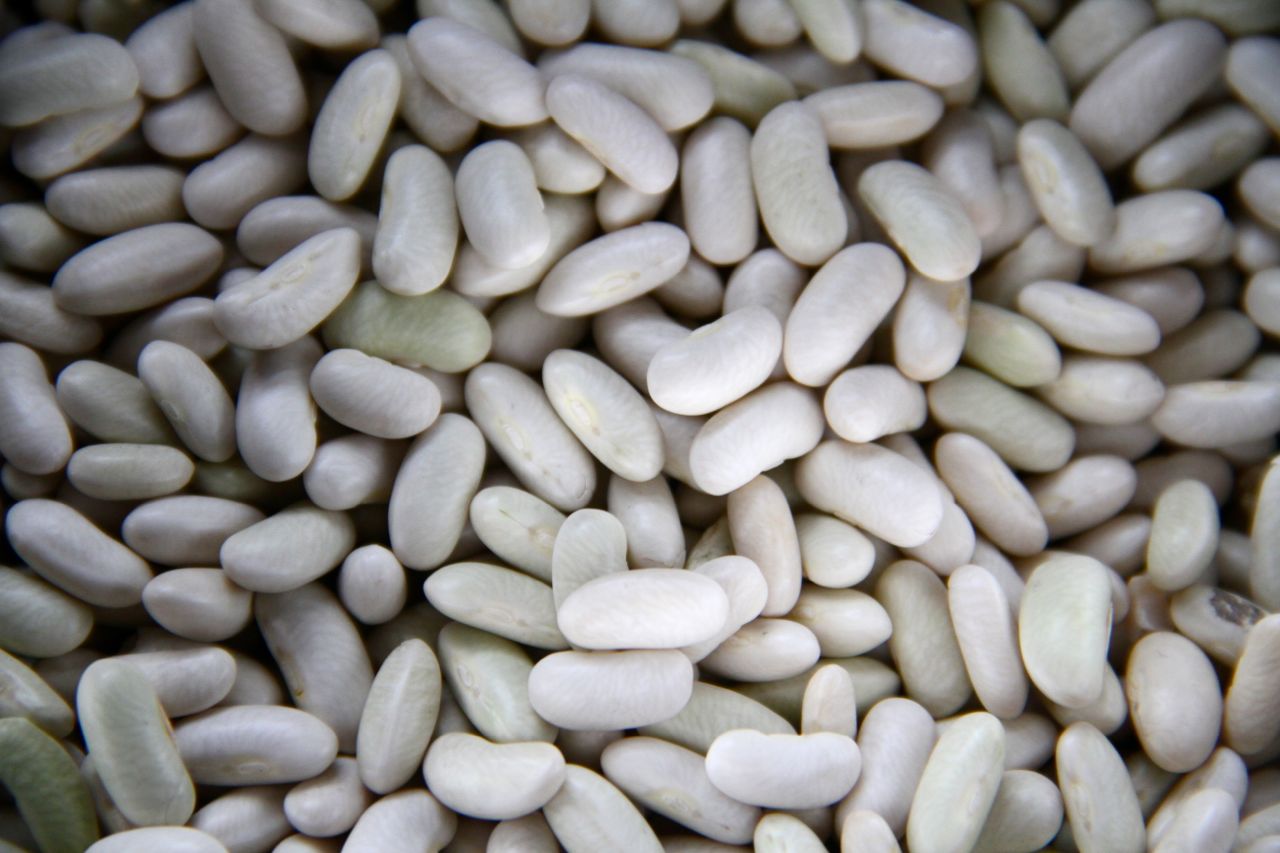
Dried beans are fun to play with, beautiful to look at, keep for ages, and are an affordable and healthy food. Long live the bean!
You know, I never much considered the bean. I mean, who thinks about beans? They’re just beans, right? Wrong. Oh, so wrong. I’ve discovered, and have perhaps squandered years of bean enjoyment, that real beans are so very, very different from those in a can. And so, so much better.
It started with a summertime cookout. Jeff and I were tired of the ol’ burgers n’dogs routine, and wanted to make something special. Plus, we were trying to shed some pounds, and keep on our running/training schedule, so including some fiber, and some fresher ingredients seemed appropriate. We arrived at a grilled taco, with slow-cooked pork shoulder (or butt, who knows?), fresh salsa, guacamole, and a black bean side dish. We figured, for those who don’t want the meat, we’ll have a suitable alternative. And for those that do, well, black beans have anti-oxidants, right? They’re good for you!
Simply put: they were outstanding. The pork came out well (we tried it a few times throughout the summer with varying degrees of success), and the salsa was a hit. But the beans – the beans! – were out of sight, man. Seriously, just black beans (about two cups?), soaked (about 4 hours, but could be done overnight) and simmered (about 1 1/2 hours? or until tender), seasoned with a generous amount of salt (to taste) a teaspoon each of ground cumin and coriander, a handful of chopped fresh cilantro and one chipotle in adobo, chopped. That’s it. But the bean, that’s the part that’s magical. They bring their own flavor.
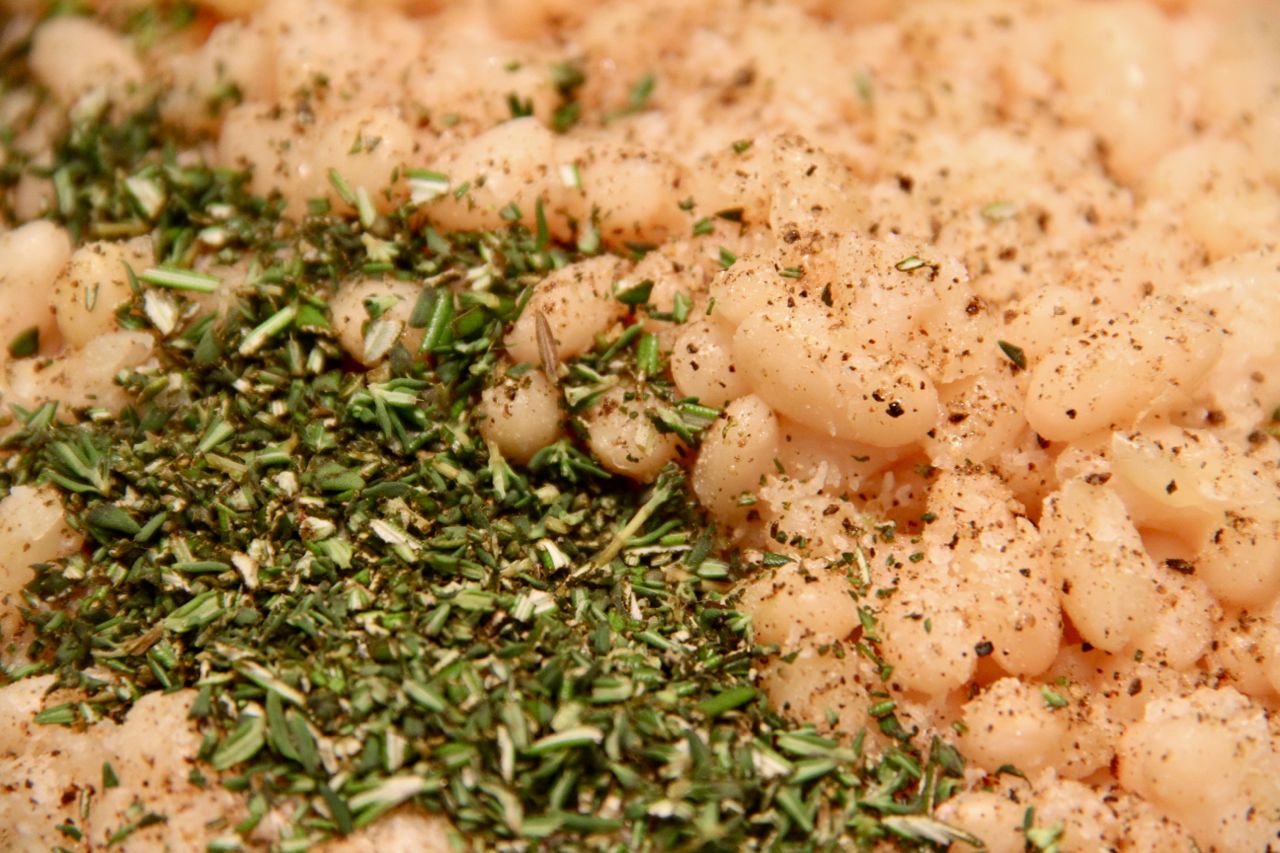
I didn’t believe it at first, that a bean could be so great. But we made the beans a few times, too. Each time they were better than the last, and each time they seemed simpler to make. So, this week, I decided I’d try my hand at another bean: the cannellini. Same routine, soaked overnight, boiled, skimmed, simmered and seasoned, but this time with olive oil, salt, pepper, and some fresh thyme (rosemary would have been lovely, too). And, man, BEANS! They’re spectacular! I’m telling you, who fucking knew?
I’m aiming my sights on the garbanzo, or the ceci, next. I presume I’ll be knocked over with goodness, and that a bean night will be in the books for the foreseeable future. I encourage you to try to make something that you’ve always purchased prepared, and see what difference it makes, if any. Something so simple, and so easy (and so inexpensive!) can add so much richness to your life. And richness is what makes life feel luxurious. Who doesn’t want a little luxury? Exactly.
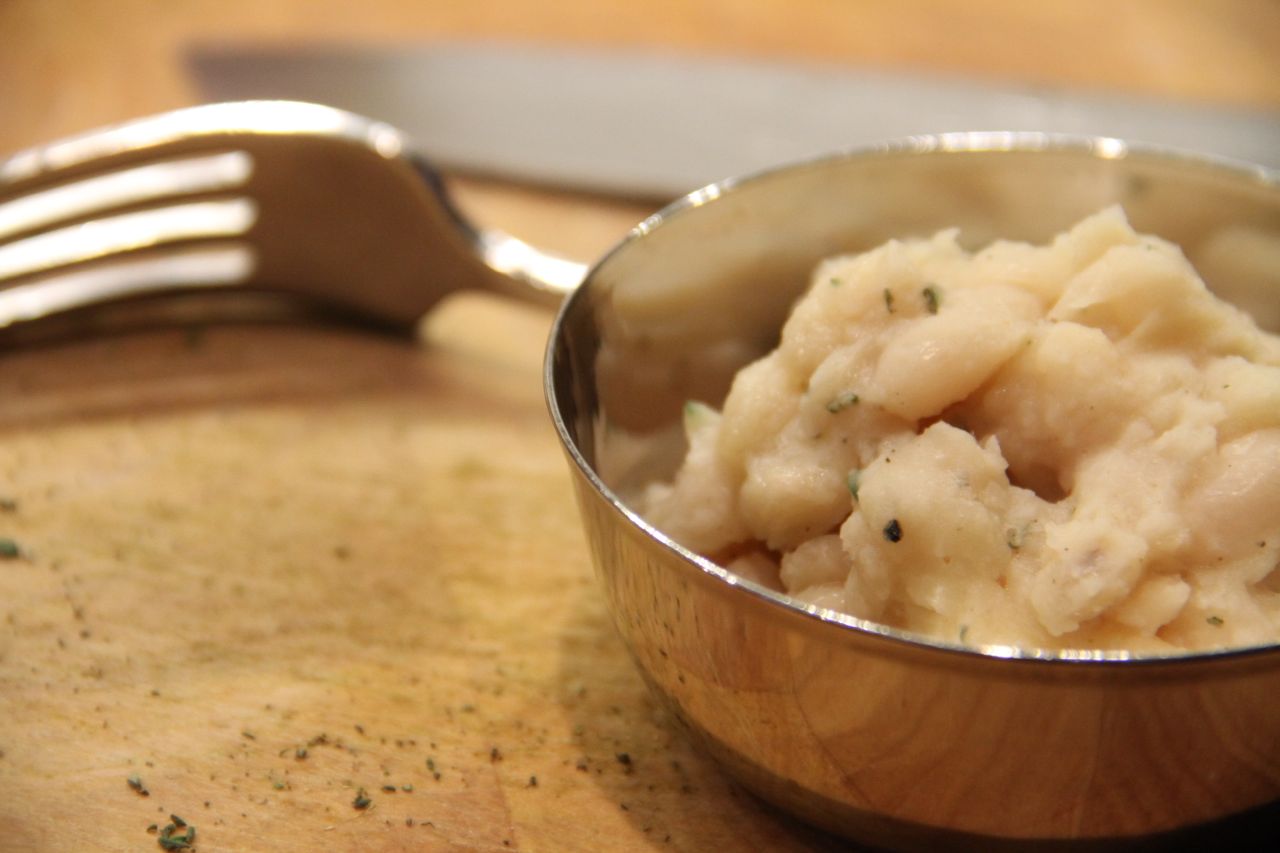
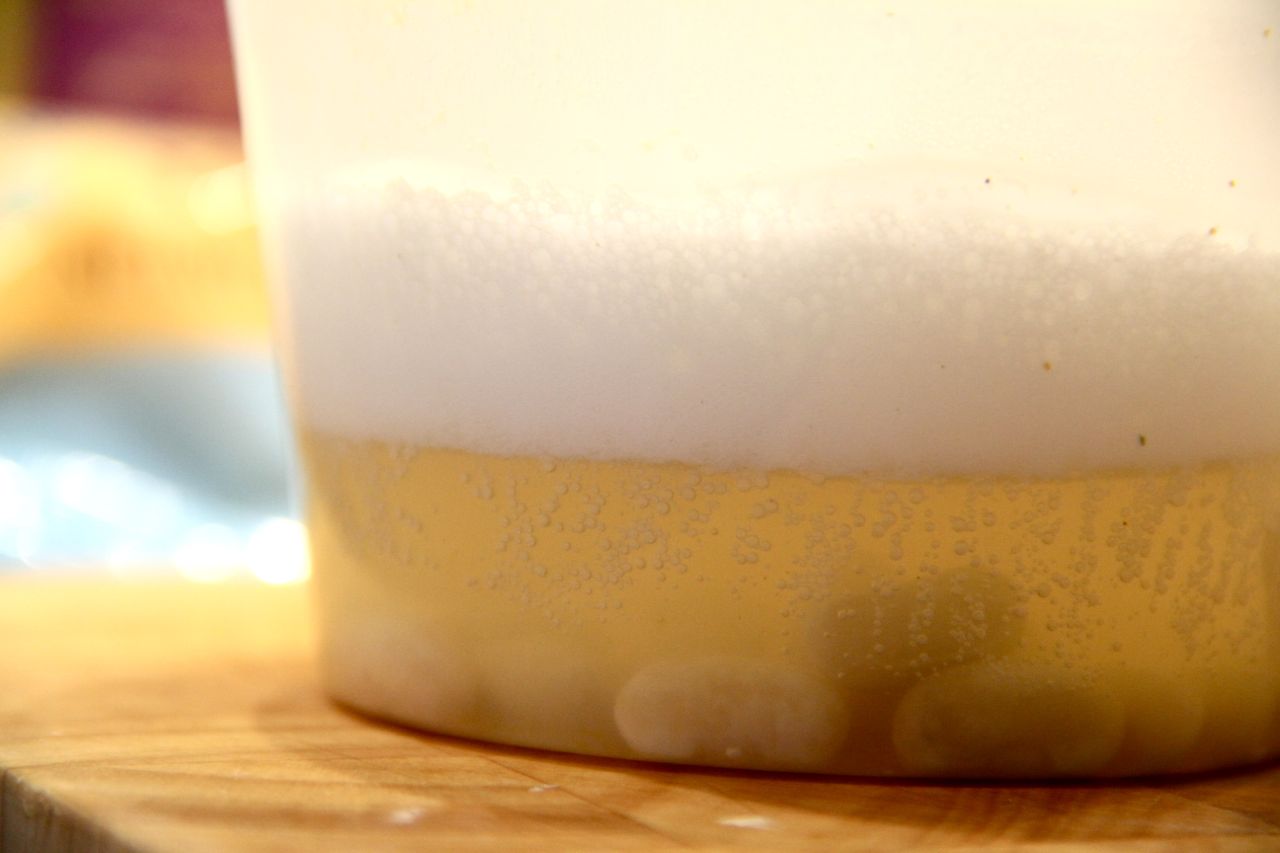
Here’s a rough recipe, for your experimenting pleasure, for the latest batch of cannellini beans I made (and photographed). I still have to perfect the timing, but the flavor results are wonderful:
Aren’t they pretty? Again, check your beans for doneness early on unless you want to end up with mashed beans like me.
White Beans with Rosemary and Thyme
1.5 lbs cannellini beans
salt, and fresh cracked pepper, to taste
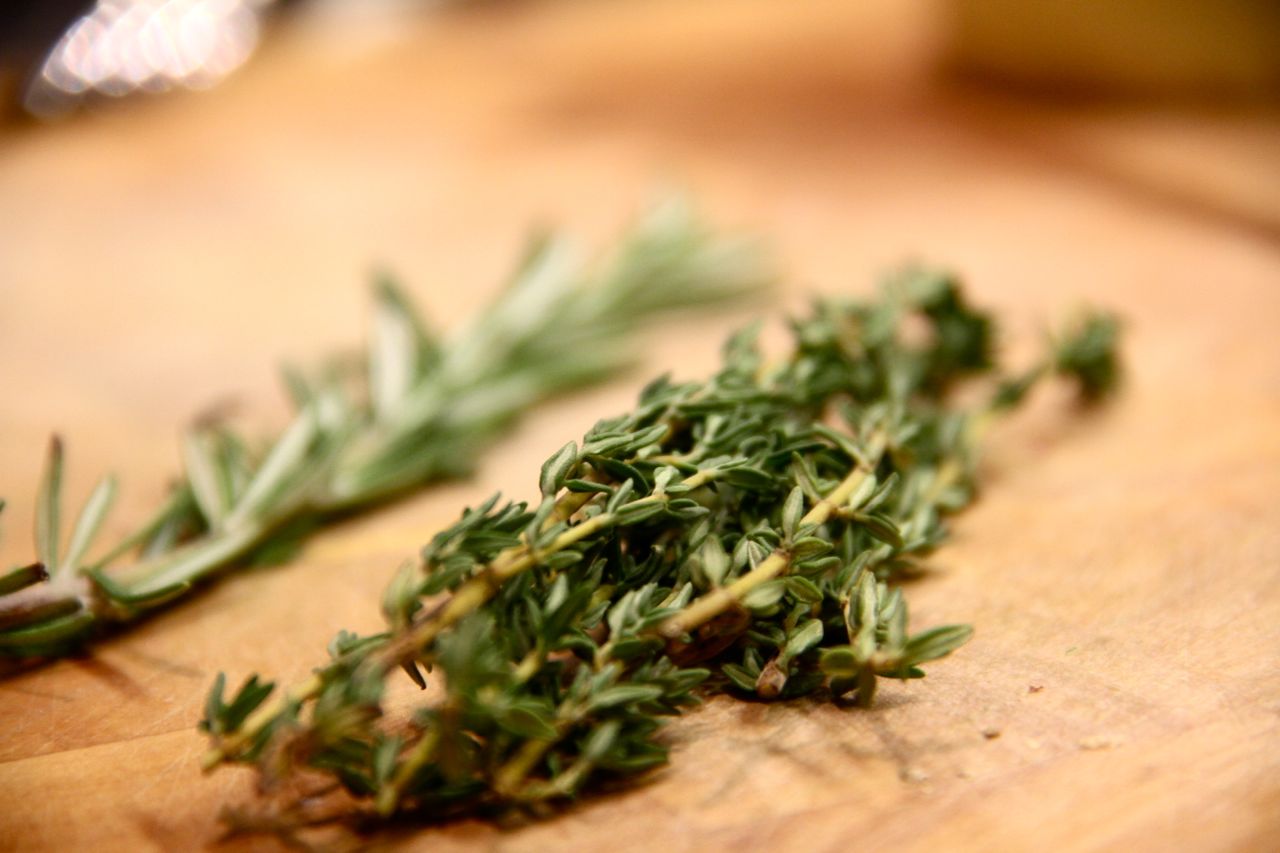
sprig of fresh rosemary, several (5 or 6) sprigs fresh thyme, finely minced
olive oil, to taste (about a tablespoon?)
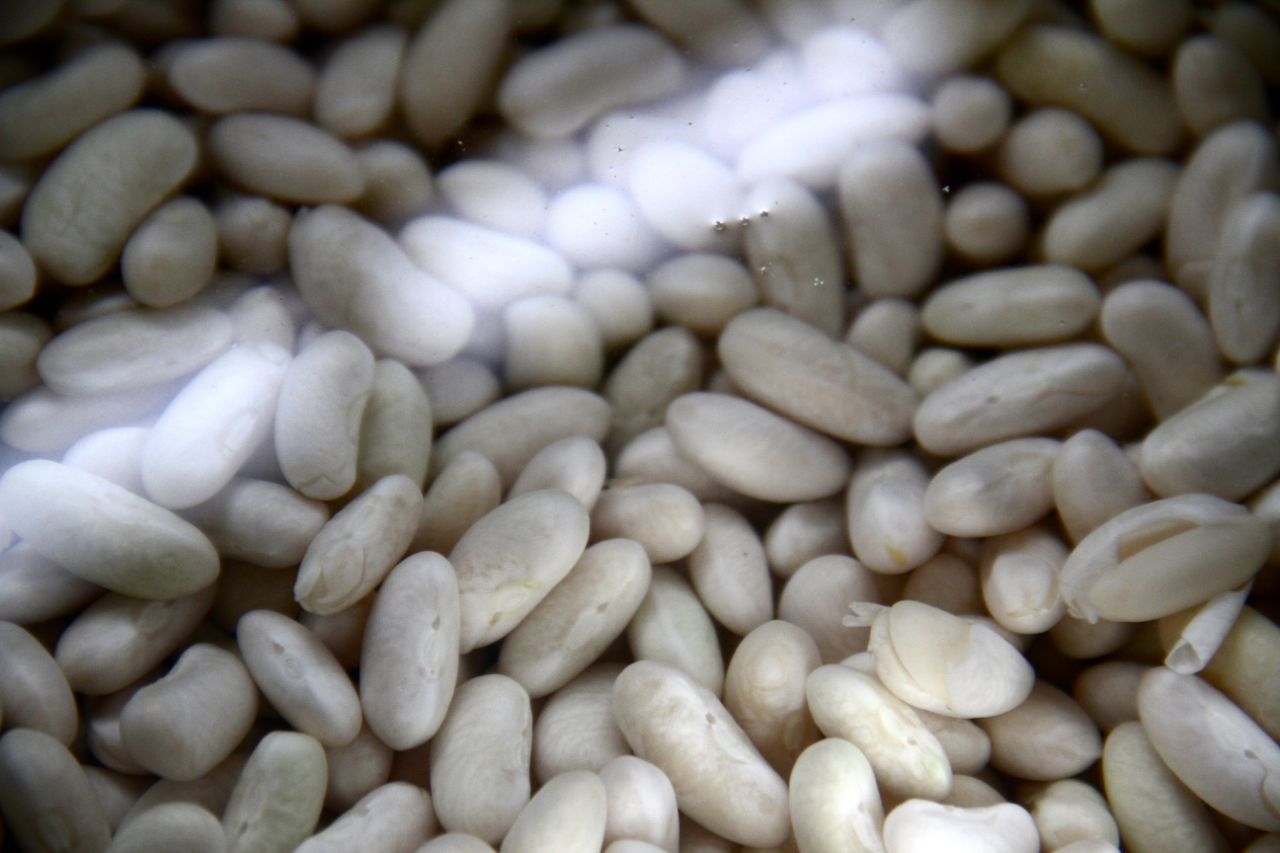
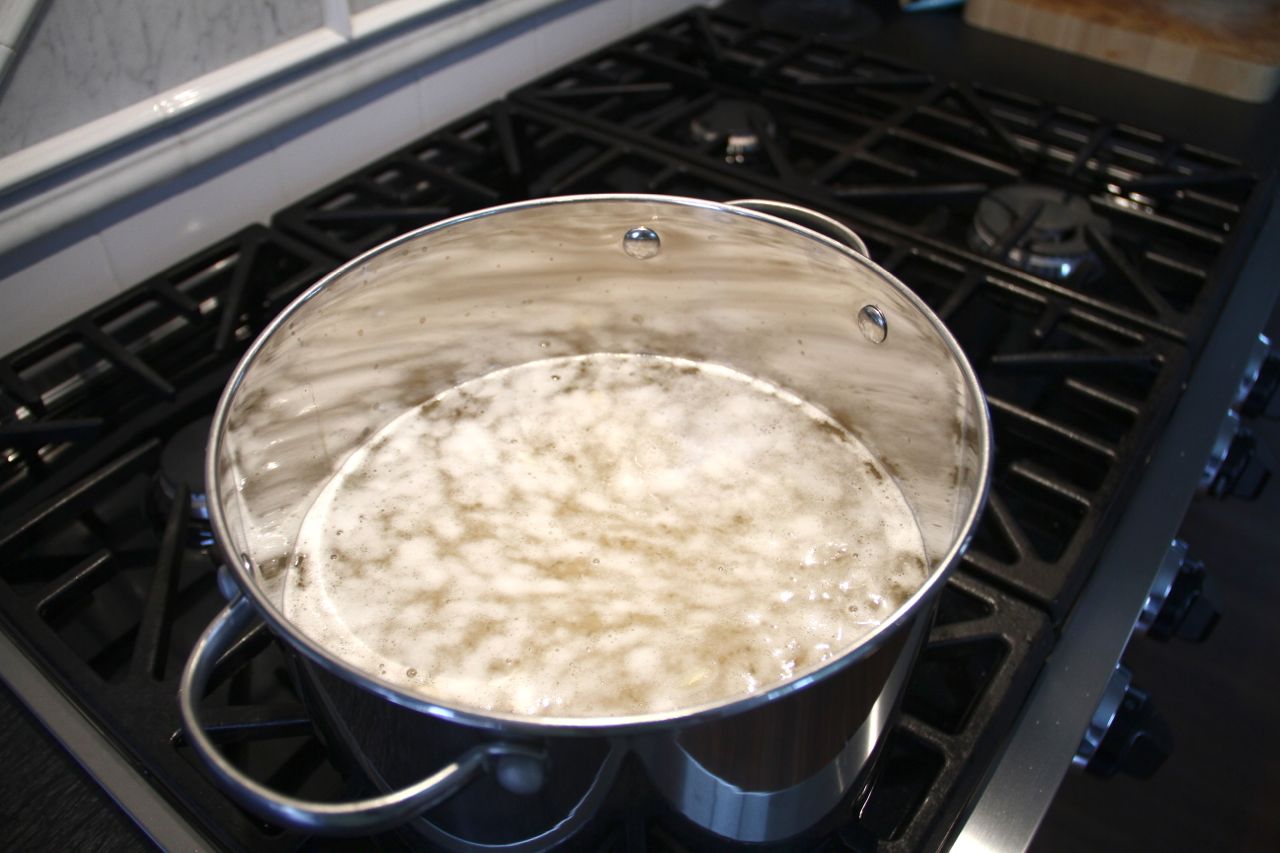
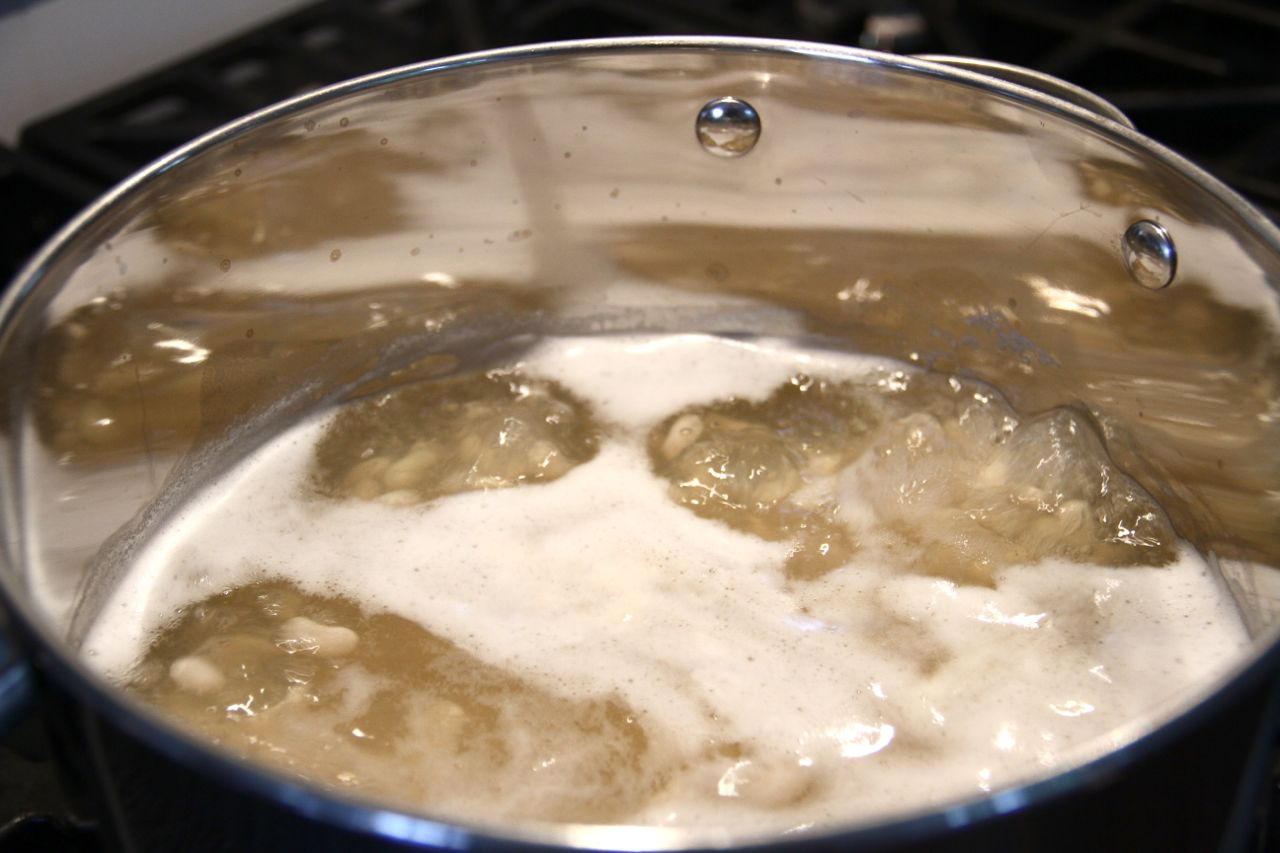
Soak beans in a large bowl covered about three or four inches with fresh water (not salted). Soak about 4 hours, or overnight. Drain water, and then top with fresh water in a large pot, and bring to a boil. As the water comes to a boil, foam will be released from the beans. Think of this foam a farts, and remove as much of it as you can. Boil for about 10 minutes while skimming the foam. After the foam is mostly gone, lower to a simmer and simmer for 1 hour. (This is the trickiest part: I think my beans get tender earlier, but I haven’t checked earlier due to following other instructions. Check at 30 mins just to see where your beans are – the interwebs says it could take up to 1.5 hours, but my beans are mashed by that point. Delicious, but not individual beans. Use your best judgement.) Once beans have reached the desired tenderness, drain, and return to pot. Drizzle a generous amount of olive oil on the beans, and add the several generous fingerfulls of salt, several healthy grinds of pepper, and the herbs while the beans are still hot. Stir gently, being careful not to completely mash your beans (like me, unless you want them mashed, in which case, spread it on some garlicky toasted bread!). Leave them for a bit, to allow the salt to penetrate, and check them for seasoning again. You will likely have to re-salt them. Better to go in small increments rather than making them too salty, I say. Enjoy your beans with pasta, eggs, kale or greens, salads, or just on their own. I’m telling you, they’re amazing.
They are so versatile, so easy, and so satisfying. I’m in love.
Get cooking! xoxo
Yummy! I have a great garbanzo bean recipe! Toss beans (canned or pre-soaked) with a little olive oil, cumin and chopped garlic. Roast on a pan at 375 for 8-10 min. Add some cherry tomatoes (halved) and roast another 5 min. Take out of the oven toss with feta cheese and serve in whole wheat pita bread. SO good!! 🙂
Gah! That sounds sooo good! On to the garbanzo! Long live legumes!